


An EMU for the Tram Layout
04 October 2011 00:30 Filed in: Model Trains,Trams
I haven’t been working on my tram layout all summer. I’ve run the tram around a bit, but the bus roadway had a gap in it as I’d run out of parts before finishing the loop, and I didn’t have a commuter car for the outer loop of track, which was a lack I keenly felt. I also had only one power pack to move between the two tracks (unless I wanted to cut up one of my Tomix feeders and connect it to a Kato pack, which I didn’t). So all I could do with it was run one of my Modemo Setagaya line trams at a time. Which was nice, but a bit less than what I wanted. That’s all changed recently (or will shortly).
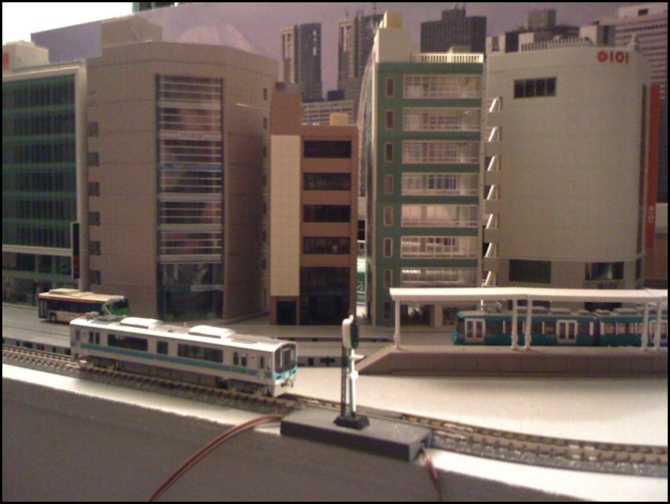
First, my extra Bus System basic sets (2) arrived at the end of August. One of these supplied the missing roadway sections, as well as another bus stop. The other is for the main layout. And today, my JR West 125 Series EMU arrived (seen above just left of the signal). Unfortunately my camera, or more accurately the focus ring on the only lens I have for the camera, broke sometime in the last week, so I can’t take any good photographs of it (the above was taken with an iPhone, and really makes me appreciate my camera).
The EMU is a Greenmax model. I ordered both the motor car and a trailer thinking it would come with truck-mount Rapido couplers like my Greenmax subway train, so I could use it on the R177 curves. However, both cars came with body-mount couplers that look like dummy Shibata couplers (often mistakenly called Scharfenberg couplers; although the Shibata is similar they are visibly different). They don’t seem to be functional, but the accessory parts includes a replacement body-mount thing that looks like a drawbar (I think it’s supposed to look like a pair of connected Shibata couplers).
The motor car will go around the track just fine on its own, but there’s no way a coupled set would negotiate that curve with body mount couplers of any kind, much less the short drawbar supplied, so I’m going to be using the motor car standalone. Oh well, I thought that might happen. And in any case the station platform is only going to be long enough for one car, so two would have looked a bit odd there.
It’s a beautiful car, and runs quietly, particularly for Greenmax which tends to have noisy motors. It runs fairly well, too. Not as smoothly at low speed as a Kato (and it appears to lack a flywheel; while I haven’t taken it apart to check, stops are instant) but smoothly enough at a reasonable speed. Once I get the bus and both EMU and tram running, I’ll have to shoot some video.
I also have a second Tomix power pack on the way, which will allow me to run both trains without hacking up the feeders. So now I really need to get to work on making some scenery for the tram layout (right now the track, roadway and buildings are just sitting on the gray-painted plywood, and the backdrop is the only scenery.
Back to the JR West train. The motor car, seen above, has a low-profile motor, leaving the interior clear. Since this layout is for close-up viewing, I’ll eventually cut some figures off at the waist and install them in the car so you can see them through the large windows. The car came in a box about the size of an old VHS videotape; it even has a paper label stuck inside a transparent outer flap, just the way VHS tape cases used to work. The box contains a foam insert, with space to hold two cars (the second space still has foam in it, but it’s easily removed). My trailer car came with a similar case, but I could consolidate to one if I wanted.
The car also came with set sheet of destination stickers and window decals, and what appears to be a plastic diaphragm you could connect around the door when coupling two together. Overall, the detail and quality appears very high, and I’m quite pleased with it.
