


Roadbed and Ballast
In a model railroad, “roadbed” is the structure that supports the actual track, just as in a real railroad it is the earthworks or other structures that support it. Model roadbed is typically composed of two elements: the subroadbed (often plywood) that provides the structural strength, and the roadbed itself, which is partially cosmetic, lifting the track above the surrounding terrain, and partly functional. One of the functional aspects to roadbed is absorbing vibration from the trains, to reduce the amount of noise transmitted through the rigid subroadbed and benchwork. Roadbed is often made of cork, but rubber-based materials are also used.
In Sumida Crossing, the subroadbed in most places is insulation foam, which is also used to provide a scenery base. In a few places, where track is laid directly above the subway, the roofing material for the subway (2mm sheet styrene) is used.
And my roadbed of choice is 1/8” cork, sold in large sheets as a material for bulletin boards, which can be cut to shape as needed. Cork has one flaw: over time (10-15 years) it may dry out and become crumbly, although after 15 years the cork on my last model railroad had not done so. If I still have this railroad in 15 years, I’ll worry about fixing it then. The original construction of the roadbed is covered on the Roadbed page of the Layout Construction section.
The roadbed is glued to the subroadbed using yellow carpenter’s glue in most places, which unlike white glue is resistant to water, an important property if ballast is to be added. When the subroadbed is plastic, or the roadbed is EPE foam (see below), carpenter’s glue won’t provide a good bond, and I use a foam-safe version of Liquid Nails brand glue.
In the initial Sumida Crossing design, Unitrack was placed directly atop the roadbed, without being glued or otherwise fixed in place, and no ballast was added (Unitrack has ballast molded into the track). This isn’t the best design, as fixing the track in place and adding ballast would not only look better, but would absorb more noise. But it allows for easy removal of the track while adding scenery materials, which will help keep glue out of the track joiners, and improve the electrical performance.
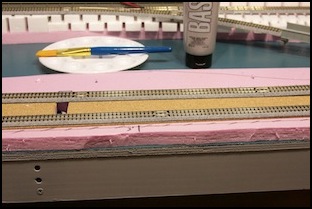
L: Roadbed (brown) and subroadbed (pink). R: After Painting
Since I did not add ballast, the cork was visible below the track, and needed some kind of scenic treatment. After a bit of thought, I went with painting it gray using artist’s acrylic paint (neutral gray #5), which is a close approximation to the color of Kato’s Unitrack ballast, as seen above. Although the paint drys to a hard finish, it remains somewhat flexible, so the cork can continue to absorb sound, if perhaps not as much as before.
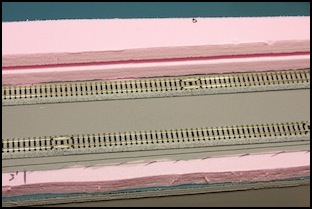
The painted cork largely disappears from sight next to or between the tracks, as seen below.
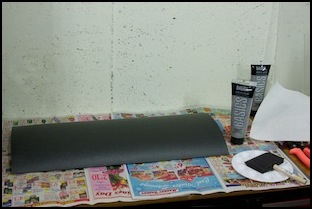
There’s another flavor of roadbed in use here: Woodland Scenics “Track-Bed Super Sheets”, 3mm thick 12” x 24” sheets of a black vinyl or rubber material. I’m using those within the elevated station, as they’re a good fit, and they’ll look better than cork up close. I may try painting them gray however, as shiny black doesn’t look very prototypical.
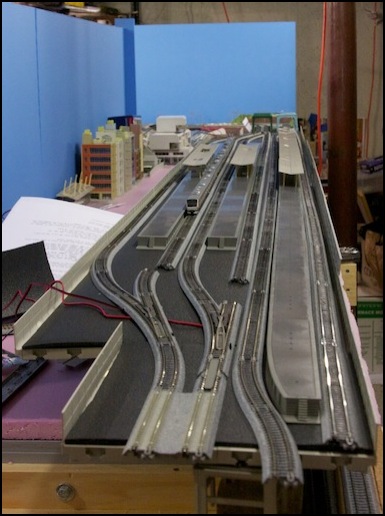
Woodland Scenics Track-Bed in the Urban Station scene.
The Track-Bed appears to be closed-cell expanded polyethylene (EPE) foam, which is available in large, thick sheets as a sound-deadening material, among other uses. It’s also available in thinner sheets at a lower density as a protective wrap for shipping. If I were using more of it, I’d look into buying bulk, but for the small quantity I need, a few sheets of the WS product from my local hobby store were sufficient.
One caution, polyethylene foam is notoriously non-stick. WS says their Track-Bed can be glued to polystyrene using their Scenic Cement. Latex caulk is also said to work with WS Track-Bed (use the siliconized stuff that stays flexible). Use of other glues, or use of bulk polyethylene foam, may not work as well. For standard polyethylene a Contact Cement (such as DAP Weldwood) is the only thing I could find a reference to that would apparently bond two pieces of it together. I haven’t used any of these (yet), and am counting on the weight of the track and platforms to hold the roadbed in place in the Urban Station. We’ll see how that goes.
The one downside to this material is the color. Black really isn’t the color I want (I want gray, like the cork after painting). And polyethylene may not take paint well, although I saw some comments suggesting a flexible paint would work. So I’m trying an experiment with the gray acrylic paint I used on the cork.
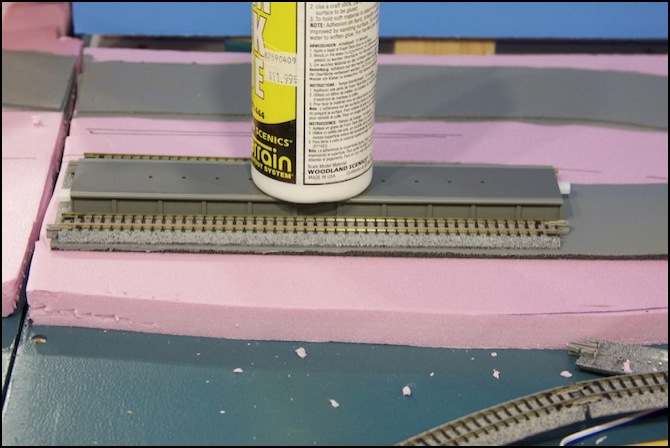
I painted a scrap piece of the WS Track-Bed, and it seemed to work just fine. Even flexing the material 180 degrees didn’t cause it to crack once dry. It could have been that it just hadn’t cured yet, so I did a test with some track and a platform segment, and I let that sit for a week or so to see if anything changed.
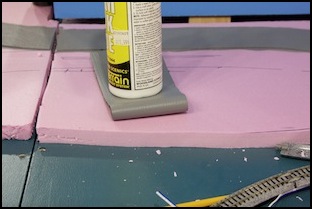
It didn’t; my initial take that this was going to be easily painted to represent ballast proved true. After a week with the platform pressed into it as shown above, the gray paint remained attached to the foam, not the platform, and even bending it foam into a 180-degree curve didn’t cause the paint to chip. Impressive.
Note that the paint does need to fully cure, otherwise it will stick to objects placed on it. It’s not clear how long it takes to cure, but I’d recommend waiting at least a week before using painted foam roadbed (since cork is absorbent, paint on foam will cure faster).
My usual brush left ridges in the paint, because the foam doesn’t absorb the paint like the cork does. So when I finally painted the real roadbed I used a disposable foam paintbrush, which produced a relatively smooth finish, although it didn’t hold paint as well, so I had to apply smaller amounts with each pass. But the end result was nice and smooth.
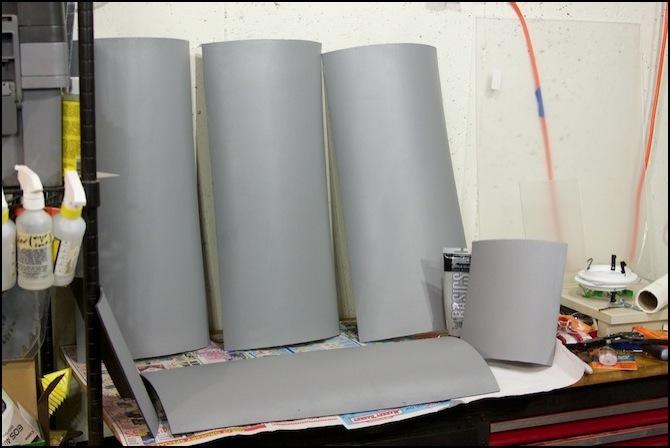
The end result: a lot of painted foam. It was left to sit on the bench for a week or so to let the paint cure (it tends to stick to the track otherwise), then installed.
