


Assembling the Ardumoto
The Ardumoto shield is a L298 motor-controller for use with the Arduino. I had originally planned to use one for my Tram Controller, although I’ve since changed my mind (and changed it back again). You can buy these with the needed parts for US$30, but I bought the US$25 OEM version, which meant I needed to buy the headers and screw terminals separately. Since I also wanted to add the optional power input screw terminal, I was going to have to purchase that anyway, and I saved a buck or two this way.
Assembly involved some very simple soldering of parts in place, since the main chip and its diodes are in place already. Sparkfun has a nice guide on how to do this, so I won’t go into details. But I will note one difference: as I noted, I installed a third pair of screw terminals, which is an option added to more recent versions of the Ardumoto, to allow use of an outboard power supply. To use this the Vin header pin would need to be cut since this is presently used to take motor power from the Arduino’s Vin supply. And that means you can’t stack another shield above the Ardumoto, even though the header sockets would allow that. I’m using the power supply terminals on the Ardumoto to provide a separate supply to the motors from the Arduino supply, both for noise isolation and to allow higher currents to the motors.
After soldering the headers, I snapped the Ardumoto onto the Arduino and used some standoffs to attach them (the friction of the headers would likely hold them together just fine, but I like solid attachments). The Ardumoto rides a little high as the edge of the board hits the Arduino’s power and USB jacks, and this does affect the electrical contact if you screw it down too tight on the corners, but if I didn’t do that, it worked reliably.
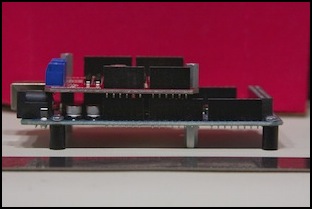
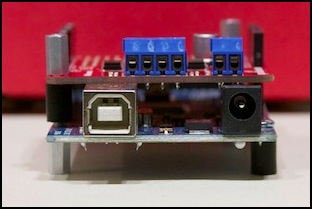
Arduino and Ardumoto attached
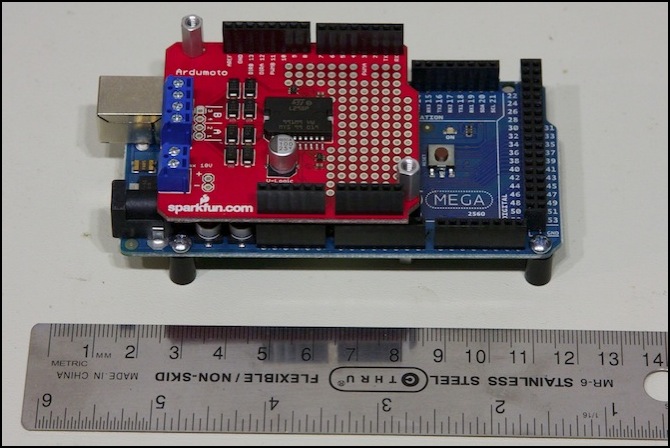
Top View
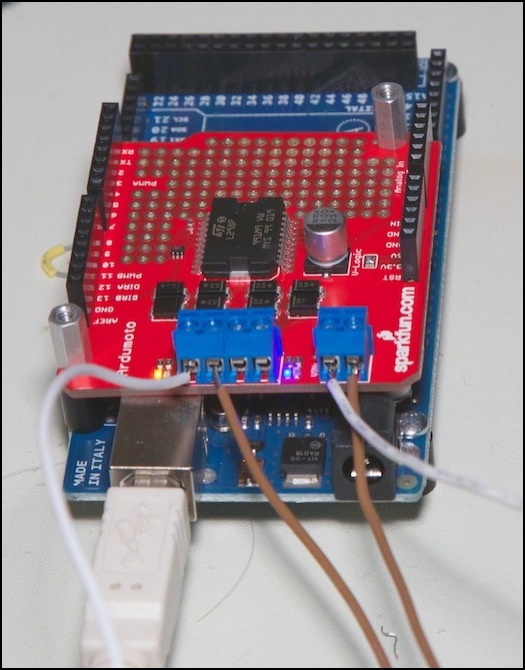
Ardumoto in testing, not left corner bending down (also note yellow LED for Motor B and blue LED for Motor A)
It’s not a bad little H-bridge shield. My largest objection to it is the choice of pins, since on the Leonardo (which admittedly didn’t exist when it was designed), it has a conflict with timer0. That’s something to avoid if you want to adjust the PWM frequency, and I do. The lack of a heat sink also makes me worry about extended operation, although the documentation suggests that it’s safe for 600 mA of total power without one.
One way to avoid the Timer0 conflict would be to wire the Ardumoto to a Arduino, skipping the whole “solder on headers” part. This would let me select any pins I wanted, since I could wire anything to the “pin 3” connection (and so on) on the Ardumoto.
