


DCC for a Kato E5
Adding DCC Decoders to Kato’s E5 Hayabusa Shinkansen
Kato’s model of the E5 Shinkansen is DCC Friendly, even though they don’t mention it. Installation of the decoders is very similar to the process already described on my Adding DCC and Lights page, so I’m only going to call out the differences here.
The cab decoders go in normally, although you’ll need long needle-nose pliers (or strong tweezers) as the hole they go in is fairly deep. As before, open the hatch, remove the plastic insert (only supplied on one cab car) and insert the decoder with the “four pads” side towards you and the “two pads” side facing the bottom of the hole:
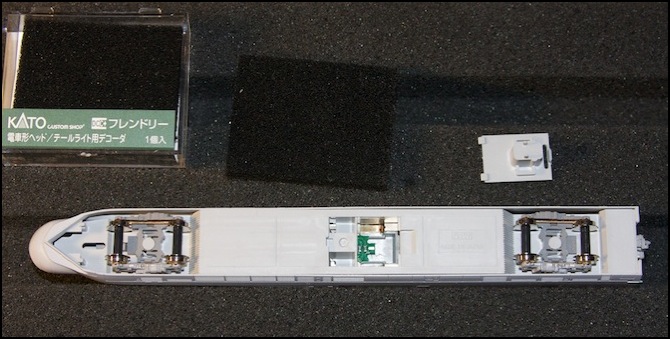
FL12 decoder installed in one cab car
As is usual with Kato “DCC Ready” cabs, one end has a plastic insert “switch” to turn off the headlights when operating coupled to another train. This needs to be removed.
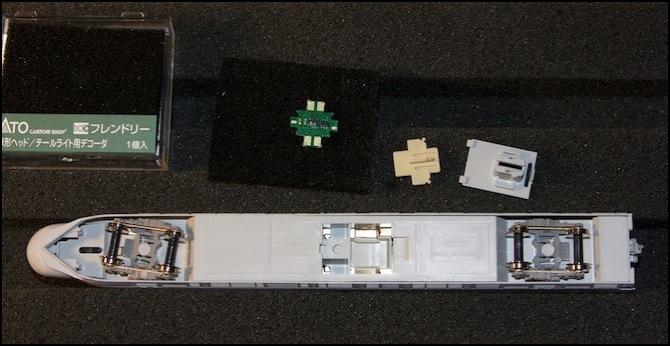
Cab car with switch (yellow) and decoder
The motor car is a bit trickier. Unlike the E231, force shouldn’t be used to get the trucks off. Instead, simply turn them 90 degrees and the lugs will disengage. To do this, I think the body has to come off (it’s the usual “unsnap it” kind, although you need to carefully disengage the tabs on the end). Note the two large beige blocks adjacent to the trucks: with the body off, these want to fall off. Make sure you know their orientation before they do, so you can put them back.
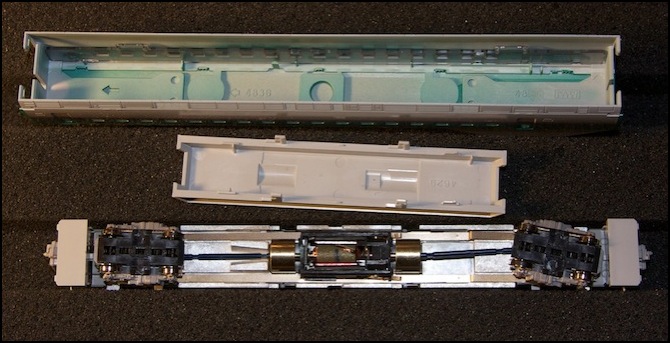
Body of motor car without decoder
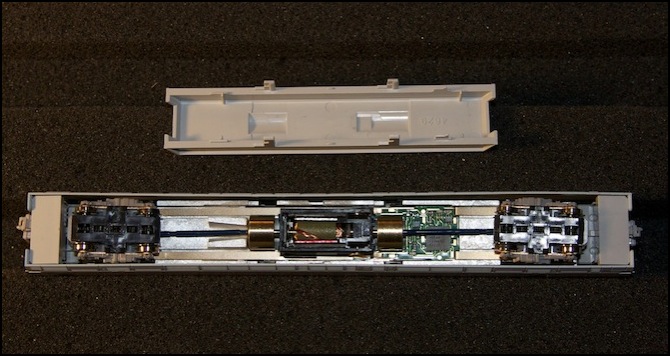
Body of motor car with decoder installed
And that’s it, quick and painless. I haven’t added the interior lighting in the cars (as usual I plan on omitting the decoder and just using the ordinary LED lightboard), but it looks like it will be the same as on an E231.
