


Photographic Backdrops II and January 2012 Status
03 February 2012 23:32 Filed in: Construction,Monthly Status
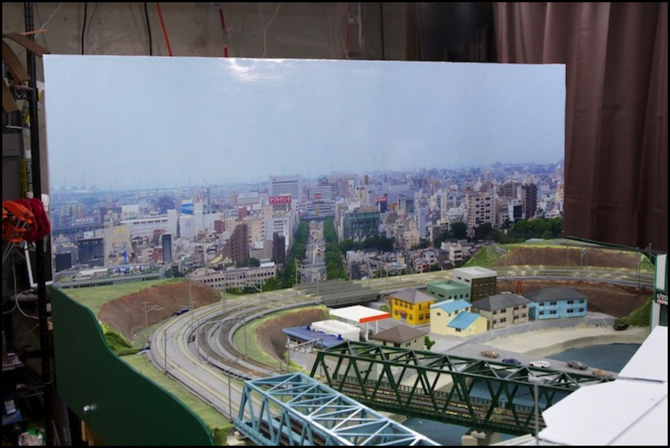
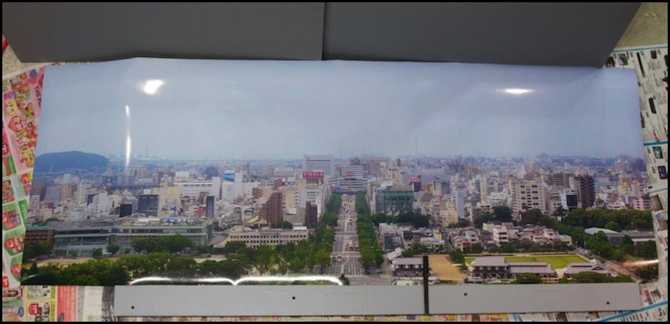
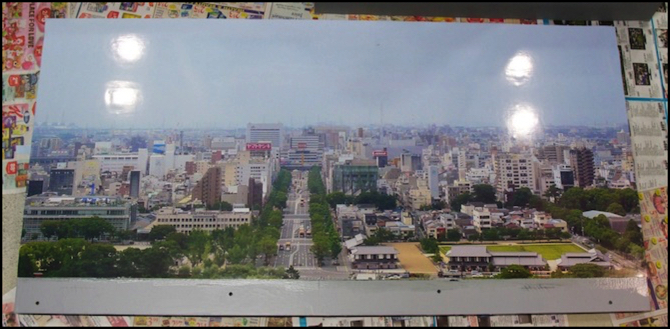
I’d mentioned a few weeks ago the work I was planning to replace the old (and disintegrating) backdrop for the River Crossing scene with a new one. That’s completed, and the new backdrop in place (as seen above). The differences are subtle (aside from the fact that this one isn’t peeling off). The horizon is lower, as I cut out more of the foreground to give it more of a “seen from a distance” look. The colors are a bit more accurate (the green of the trees looks particularly good). Finally, the image resolution is higher, but you really can’t see that in these photos. It does make a difference in person, although perhaps not to the casual viewer. Below are the original presentation paper backdrops, from an early test before I glued them in place.

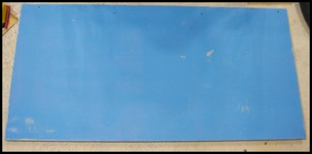
Old Backdrop (summer 2010)
Making the new backdrop was fairly straightforward. I reused the old backdrop board, a 2’ x 4’ sheet of tempered hardboard. One sheet of the old paper hadn’t fallen off, and left some traces behind when I removed it, and there was glue residue. So the first thing I did as sand the front. This proved harder than expected, as the hardboard had a faint ripple to it, and I was really only sanding the tops; also, it was very hard. I eventually used 100-grit sandpaper and was able to remove most of the glue, and a little paint in places. Then I painted over the old blue paint with a new coat of primer, to give it a fresh surface. I left this to sit four a couple of weeks so the paint would fully cure.
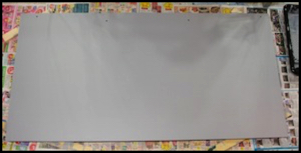
Backdrop sanded (left) and primed (right)
Before painting I also attached more wood to the back of the backdrop, to make it more rigid (the edges had begun to curl away from the layout). Once the glue had set for a few days, I also painted the back.
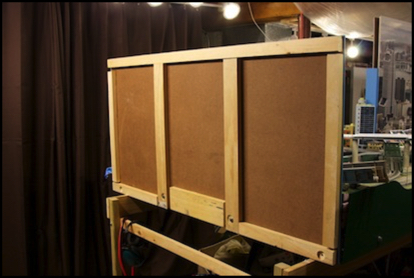
Reinforced back, before painting
While the paint was curing, I made my final decisions on the form of the print, and enlarged it (as described on the Enlarging Photos page). This new version was printed and left to dry for a couple of weeks also, to ensure the ink was fully dry before I attached it. I also painted the back of the board.
After the paint was dry, but while I was letting it set to cure, a marked the location of the landscape against it, and the position of the roadway. Then I experimented with the photo, to see where I wanted it to sit relative to the horizon.
In the photo below the photo is resting on the backdrop in its final position. You can faintly see the two vertical black lines on the backdrop board marking the location of the roadway on the layout, right below the large avenue. The black pen on the right is placed so that its top is where the scenery will be, so you can see that the sandy area and field to the right will be completely hidden in the final positioning. You can also see just how much of the left side will be cut off, but it also overhangs the right and top.
With the position chosen, I used the pen to draw a horizonal line across the backboard, where the lower edge of the photo would go. This plus the two vertical lines for the avenue edges would be my guide when gluing the image in place.
Backdrop placement test
And then I glued it down. This was the same as my earlier photo backdrops: I spread Paper Mod-Podge using a foam trim roller in a thin layer across the entire surface where the photo would go. After placing the photo against the horizon line and tugging it into place above the roadway marks, I used a 4” (10 cm) rubber roller (a “brayer” for ink-stamp use) to roll the paper flat into the glue, keeping this up across the entire surface until it stopped making “squishing” noises. With that, my work was done and I left it to sit for 24 hours while the glue dried.
After the glue had dried, using a box-cutter knife with a fresh razor blade, I trimmed the excess paper:
Backdrop, trimmed to fit
Another thing I’d done when reinforcing the backdrop board was to attach a metal guide along the top. This was partly to ensure the wood didn’t curve, but it also served as a mounting for shelf supports, so I could store lightweight layout materials along the back of the backdrop (I’m perpetually short of storage space for supplies).
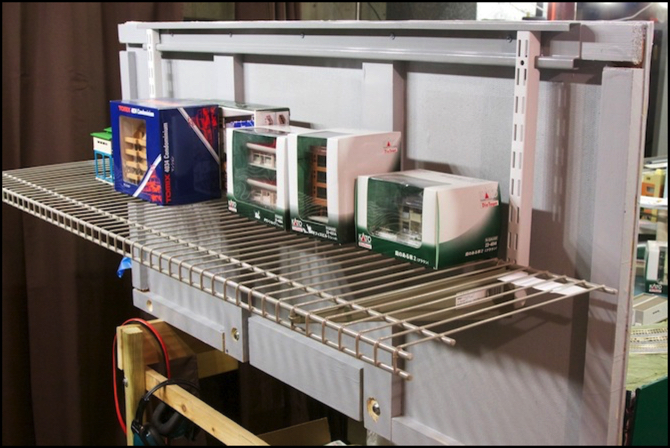
I’m not convinced I’ll keep the shelf. The metal shelving is heavier than I’d like. I have an alternate plan for some lightweight shelves of 1/4” plywood if I decide this is too heavy. But the added storage space is very nice to have.
And that’s it for the backdrop. Now I have no more excuses for not working on the actual scenery of the River Crossing scene and its village. That’s the next project.
January 2012 Monthly Status
Well, that’s it in a nutshell: this month went to the backdrop. I’ve done some work planning the village area, and played around with the new grade crossing as described earlier. And I’m continuing to put time into finishing the comments system and updating the website with some of the older construction material. But it’s the backdrop that I’ve been obsessing over for the last several weeks. It feels very good to be able to count it done.